

 See My Latest Article on HelloNation
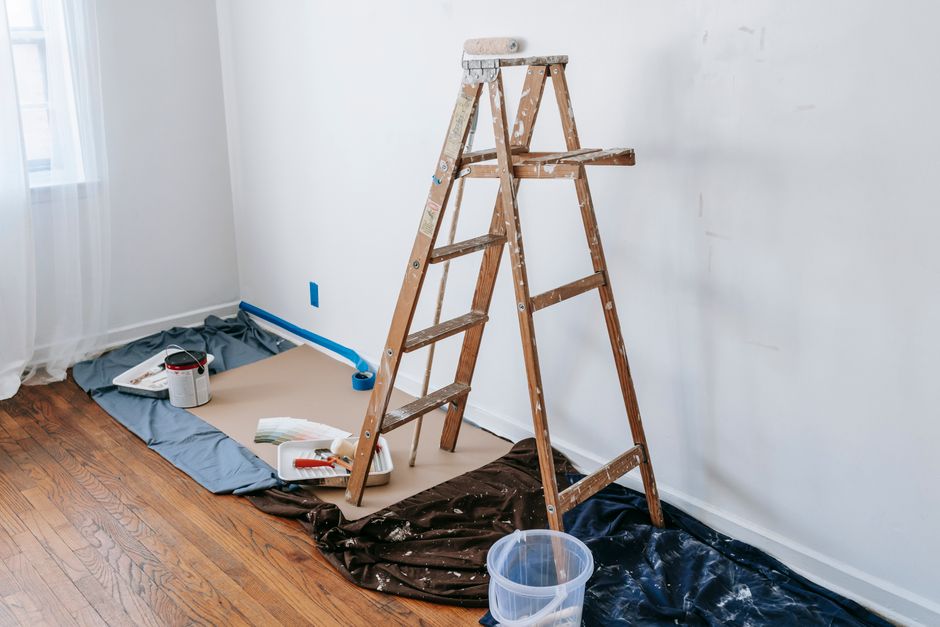
Painting a room can look simple, but a professional-looking result depends more on preparation and timing than on advanced technique. Clean surfaces, suitable conditions, careful edging, and enough drying time will usually matter more than painting quickly.
What should be done before opening a paint can?
The room should be cleaned, repaired, protected, and planned before painting begins. Rushing into the first coat often leads to visible flaws, uneven coverage, and paint on surfaces that were never meant to be painted.
Start by removing as much furniture as possible. Move large pieces toward the center of the room and cover them securely. Remove wall decorations, switch plates, outlet covers, curtain hardware, and other items that can be taken down safely.
Inspect the walls under bright light. Look for:
- Nail holes and small dents
- Cracks around trim or corners
- Grease, dust, and fingerprints
- Peeling or bubbling paint
- Loose caulk
- Water stains or signs of moisture
Fill minor holes with patching compound, allow the material to dry, and sand it smooth. Sanding should blend the repaired area into the surrounding wall rather than leave a noticeable ridge. If the wall has peeling paint, scrape away loose material and smooth the edges.
Clean dusty walls with a slightly damp cloth. Kitchen walls or heavily handled areas may need a mild cleaning solution that does not leave a greasy residue. Allow the surface to dry completely before applying primer or paint.
How should a room be prepared for clean edges?
Good preparation reduces the amount of cutting-in and touch-up work required later. Use painter’s tape along trim, baseboards, window frames, and other protected edges, pressing the tape down firmly so paint cannot seep underneath.
Tape works best on clean, dry, sound surfaces. It may not adhere well to dusty walls, rough wood, loose paint, or damp areas. On textured surfaces, a perfectly sharp line may still be difficult to achieve, so work slowly and avoid loading the brush with too much paint.
Cover floors with drop cloths rather than thin plastic alone. Plastic can shift underfoot and may allow spilled paint to travel farther than expected. Use smaller coverings for stairs, thresholds, and areas around radiators or floor registers.
Turn off power before removing electrical cover plates. If a fixture, outlet, or switch appears damaged, do not paint over the problem. Painting should not be used to conceal electrical, structural, or moisture-related defects.
What type of paint and finish should be used?
The right finish depends on the room’s use and the amount of cleaning the walls will need. Flat paint hides surface imperfections well but is less resistant to repeated scrubbing. Eggshell and satin finishes are commonly chosen for living areas, bedrooms, hallways, and other spaces that need occasional cleaning.
A higher-sheen finish may be useful for trim, doors, and areas exposed to more handling. However, shinier paint reflects more light and can make dents, patches, and uneven surfaces easier to see.
Choose a paint intended for the surface being covered. Wall paint, trim paint, ceiling paint, and specialty coatings are not always interchangeable. If the existing surface is glossy, chalky, stained, or significantly different in color, primer can improve adhesion and coverage.
Primer is especially useful for:
- Bare drywall or exposed joint compound
- New wood or repaired trim
- Strong stains
- Dark colors being covered with a much lighter shade
- Glossy surfaces that have been properly cleaned and lightly sanded
- Areas where the previous coating is peeling or inconsistent
Paint color can appear different depending on daylight, artificial lighting, wall texture, and nearby furnishings. Test a small section and observe it at different times of day before committing to the entire room.
What is the correct order for painting a room?
A common sequence is ceiling first, walls second, and trim last. This order helps keep accidental drips from landing on finished surfaces.
Begin by stirring the paint thoroughly. Pour a manageable amount into a paint tray rather than working directly from a full container. Use a brush to paint along ceiling lines, corners, trim, and other areas where a roller cannot reach. This process is called cutting in.
After cutting in one section, roll the larger wall area while the brushed paint is still wet. This helps reduce visible differences in texture and sheen. Work in sections, maintaining a wet edge so that one area does not dry before the next section is blended into it.
Load the roller evenly, then apply paint in overlapping passes. Avoid pressing too hard, since excessive pressure can create thin coverage and uneven texture. A final light pass in the same direction can help create a more consistent finish.
Most walls require two coats for even color and durability, particularly when covering a dark shade, repaired areas, or porous drywall compound. Allow the first coat to dry according to the paint label before deciding whether another coat is needed. A second coat applied too soon can pull up the first layer or create ridges.
How do Spokane’s seasonal conditions affect indoor painting?
Spokane, WA has dry periods, cold winters, and noticeable seasonal changes that can affect indoor painting. Indoor temperature and humidity matter more than the outdoor forecast, but seasonal conditions can still influence ventilation and drying time.
During colder months, windows may remain closed, which can slow ventilation. Use safe airflow through doors, fans, or approved ventilation methods without creating strong drafts that blow dust onto wet paint. Avoid using unvented heaters to speed drying, since they can add moisture to the air and create safety concerns.
In warmer or especially dry conditions, paint may dry quickly at the surface while remaining softer underneath. This can make blending more difficult. Keep the room at a stable, comfortable temperature and follow the coating label rather than relying only on how the wall feels.
Older homes and buildings with varying insulation may have cold exterior walls, condensation, or recurring moisture problems. If a wall feels damp, has a persistent stain, or shows bubbling and peeling soon after painting, identify and correct the moisture source before repainting.
How can common painting mistakes be avoided?
Many visible problems result from insufficient preparation rather than poor brush or roller technique.
Avoid these frequent mistakes:
- Painting over dust, grease, or loose paint
- Skipping primer on repaired or stained areas
- Applying thick coats to finish faster
- Allowing the roller or brush to become nearly dry
- Removing tape after the paint has fully hardened
- Touching up a wall before the original coat is dry
- Leaving paint cans open while working
- Using the wrong tool for a smooth or textured surface
Remove painter’s tape carefully while the paint is set but not fully hardened. Pull it back slowly at a low angle. If the edge begins to lift, score it gently with a sharp utility blade.
Keep a small amount of leftover paint labeled with the room, color, finish, and date. Store it tightly sealed in a temperature-controlled area, not in a freezing garage or an extremely hot space. Paint that has frozen, developed an unusual odor, or formed persistent lumps should not be assumed to be usable.
When should painting stop and a larger problem be addressed?
Painting should pause if there is active leaking, widespread mold-like growth, major peeling, soft drywall, strong persistent odors, or suspected lead-based paint. Homes built before 1978 may contain lead-based coatings, especially beneath newer layers. Sanding or disturbing those surfaces can create hazardous dust.
Likewise, extensive water damage, unsafe ladder conditions, and electrical problems require more than ordinary room-painting methods. The safest approach is to resolve the underlying hazard before preparing or coating the surface.
A successful room repaint is built on a clean foundation, suitable materials, controlled application, and patience between coats. Careful preparation makes the work easier, improves the final appearance, and helps the new finish hold up through everyday use.