

 See My Latest Article on HelloNation
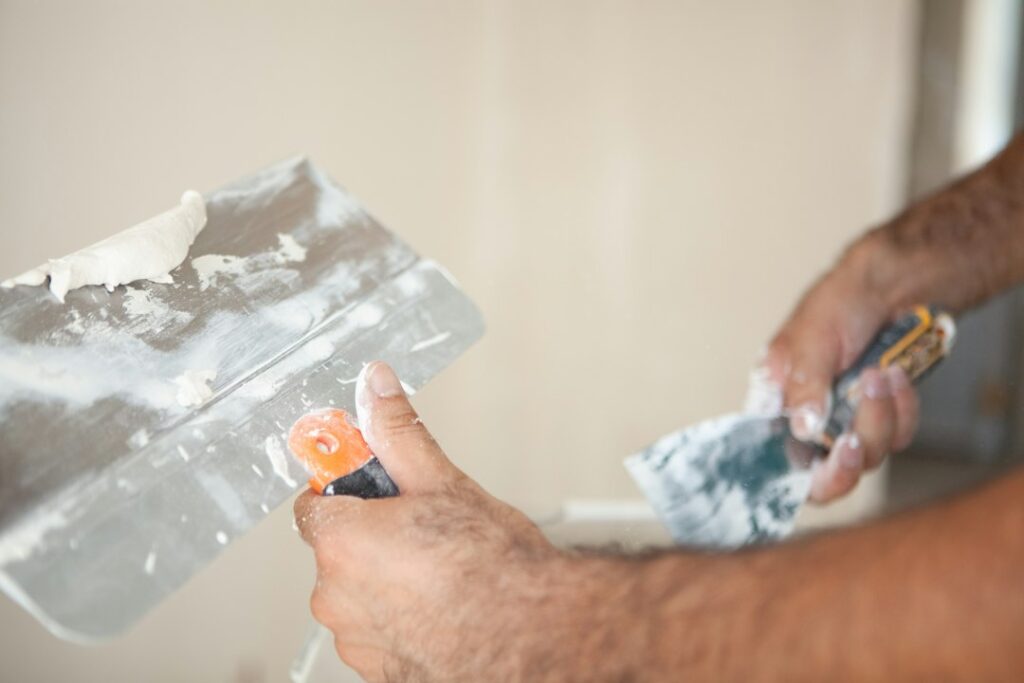
What should be done before painting a wall?
Proper wall preparation usually takes more time than applying the paint. Cleaning, repairing, smoothing, and priming the surface helps prevent peeling, flashing, visible patches, and uneven texture.
Before starting, remove artwork, shelves, switch plates, and outlet covers. Move furniture away from the walls and protect floors with drop cloths. Open windows when weather allows, but avoid creating strong drafts that can blow dust onto wet paint.
Gather:
- Mild detergent or wall cleaner
- Sponges, rags, and a bucket
- A putty knife
- Lightweight joint compound or spackling compound
- Fine-grit sanding sponge
- Caulk and a caulking tool
- Primer
- Painter’s tape
- Drop cloths
- A dust mask and safety glasses
Older homes may require additional caution if the existing paint could contain lead. Paint applied before 1978 may contain lead, and sanding or scraping it can release hazardous dust. Avoid disturbing suspect layers until the surface has been evaluated and safe work practices are established.
How do you inspect a wall before cleaning it?
Begin by looking across the wall from several angles. Side lighting from a window or work lamp can reveal dents, ridges, nail pops, loose paint, and uneven areas that may be difficult to see directly.
Check for:
- Water stains or areas that feel damp
- Cracks that continue across the wall or ceiling
- Peeling, bubbling, or chalky paint
- Loose drywall tape
- Mold-like growth
- Grease, soot, or heavy dirt
- Gaps around trim, windows, or doors
Painting should not be used to hide an active moisture problem. In Spokane, seasonal temperature changes, winter condensation, and dry indoor heating can all contribute to surface movement or cracking. Stains that return after cleaning may indicate a leak or another underlying issue.
Small, stable drywall cracks are usually repairable. Cracks that widen, reappear quickly, or extend through multiple surfaces deserve further investigation before cosmetic work continues.
How should walls be cleaned before painting?
Walls should be clean, dry, and free from dust before repairs or primer are applied. Dust prevents compound and primer from bonding properly, while grease and residue can cause uneven sheen or peeling.
Use warm water with a small amount of mild detergent. Work from the top down, cleaning one manageable section at a time. Follow with a clean, damp cloth to remove soap residue, then allow the wall to dry completely.
Pay extra attention to:
- Areas near light switches and door handles
- Kitchen walls exposed to cooking residue
- Walls near wood-burning stoves or fireplaces
- Baseboards and trim ledges
- Rooms where candles, incense, or smoking have been used
Avoid soaking drywall. Excess water can soften the paper surface and make it swell. For heavy grease or soot, a stronger cleaner may be necessary, but test it in an inconspicuous area first and follow the product’s safety directions.
How do you repair holes, dents, and nail pops?
Small holes and dents can be filled with spackling compound or lightweight joint compound. Press the material firmly into the opening, slightly overfilling it so the repair can be sanded flush after it dries.
For larger holes, use a suitable patching method rather than applying a thick layer of compound all at once. Several thin applications generally dry more evenly and are less likely to crack.
Nail pops should not simply be covered with paint. Carefully remove loose material, drive the fastener slightly below the surface without damaging the drywall, and fill the depression. If the same area has repeated movement, the underlying framing or drywall attachment may need attention.
After the repair dries:
1. Sand it with a fine-grit sanding sponge.
2. Wipe away dust with a dry or slightly damp cloth.
3. Run a hand over the area to check for a ridge or depression.
4. Apply another thin coat if the repair remains visible or uneven.
Wear eye protection and a dust mask while sanding. Vacuuming with suitable filtration and wiping surfaces afterward helps keep fine dust from settling into the fresh coating.

Should cracks and gaps be caulked?
Caulk is useful for narrow gaps where different materials meet, such as along trim, door casings, and baseboards. It remains flexible and can accommodate minor movement.
Use joint compound for flat drywall damage and caulk for changes of plane or small trim gaps. Applying compound to a flexible joint often leads to cracking.
Cut the caulk nozzle at a narrow angle and apply a small, continuous bead. Smooth it with a damp finger or appropriate tool before it skins over. Remove excess material from adjacent surfaces while it is still workable.
Do not caulk large gaps, active cracks, or areas affected by moisture without addressing the underlying cause. Caulk also should not be used to seal around surfaces that are loose or unstable.
When is sanding necessary?
Sanding is needed when the wall has glossy paint, rough repairs, raised edges, or uneven texture. The goal is to dull shine and blend transitions, not to remove every layer of existing paint.
Use fine-grit sandpaper or a sanding sponge for most interior preparation. Sand repaired areas until the edges gradually disappear into the surrounding wall. For glossy surfaces, lightly scuff the finish so primer can grip.
Avoid aggressive sanding on old painted surfaces, especially when the paint’s age is unknown. Wet methods and careful surface preparation are safer than creating large amounts of dust.
After sanding, remove all residue. A wall that looks clean may still have a fine powder that interferes with adhesion.
Do walls always need primer?
Primer is especially useful on new drywall, repaired areas, porous surfaces, stains, and walls changing from a deep color to a much lighter one. It creates a more uniform surface so the finish paint absorbs evenly.
Spot-prime small repairs to prevent dull patches, often called flashing. Prime the entire wall when the surface has widespread repairs, inconsistent porosity, smoke or water staining, or a major color change.
Stains may require a stain-blocking primer rather than a standard latex primer. Glossy or difficult surfaces may need a bonding primer. The primer should be compatible with both the existing surface and the intended finish paint.
Allow primer to dry according to its label before judging the surface. Some unevenness becomes easier to see after priming and can be corrected before the final coats.
How can Spokane residents prepare walls during changing weather?
Indoor temperature and humidity affect drying, adhesion, and the appearance of the finished surface. During cold months, heated indoor air can make walls and repair compounds dry quickly at the surface while remaining soft underneath. During damp periods, drying may take longer.
Keep the room reasonably warm and ventilated without creating strong airflow across wet surfaces. Avoid painting a wall that feels cold, damp, or shows condensation. In older houses, check exterior walls and corners for signs of moisture before covering them.
Allow extra drying time after washing, patching, caulking, and priming. Rushing between steps can trap moisture and lead to visible defects later.
What final checks should be completed before painting?
Use bright, angled light to inspect the wall one last time. Look for sanding scratches, remaining dust, raised patch edges, pinholes, and spots that still look glossy.
The wall is ready when it is:
- Clean and dry
- Sound and firmly attached
- Smooth where a smooth finish is desired
- Free of loose paint and dust
- Properly primed where needed
- Caulked only at appropriate joints
- Protected along floors, trim, and fixtures
Preparation is complete when the surface feels consistent from one area to the next. Taking time at this stage usually produces a more even finish and makes the paint easier to maintain through everyday household use.